

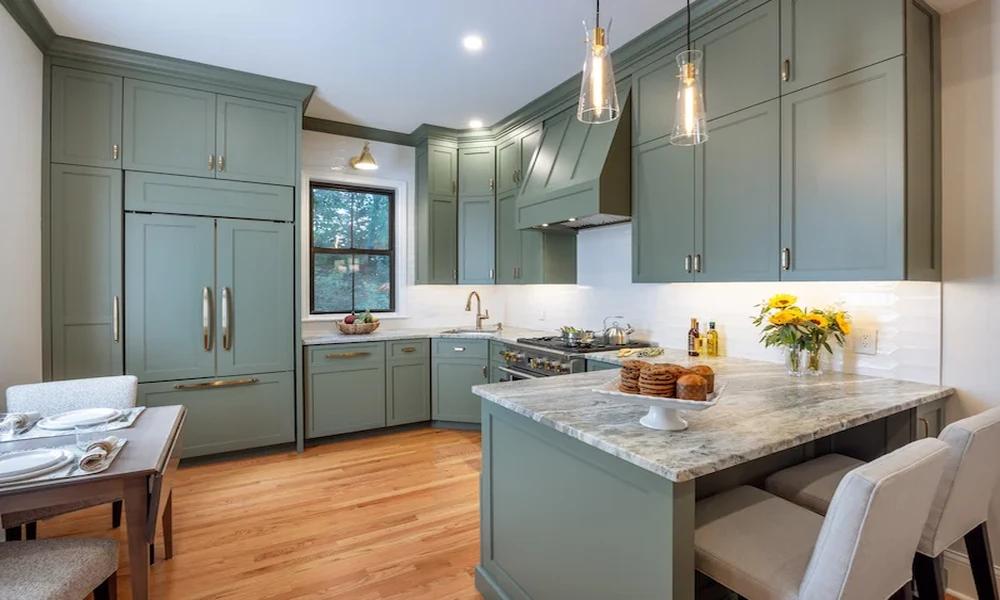
Older homes have a character that new construction struggles to copy. Plaster walls, solid wood trim, deep window sills and floor plans shaped by another era all add charm. They also hold surprises: outdated wiring, hidden moisture damage and decades of paint layers. Renovating one is rewarding, but the payoff goes to the homeowner who plans carefully rather than the one who starts swinging a hammer.
This is a familiar story across New Jersey, where many houses are a century old or more. Local remodeling teams, including Henry’s Next Level Home Improvement LLC in East Orange, handle kitchens, bathrooms, basements and window replacements in homes of every age, and the lessons from those jobs tend to repeat from house to house.
This guide covers what to inspect first, which hazards matter most and how to sequence the work so you avoid paying for the same wall twice.
Know What You Are Dealing With
Before choosing tile or paint colors, find out what is behind the surfaces. A short inspection list saves real money later:
- Wiring: Cloth-wrapped or ungrounded wiring is common in very old houses and may not handle modern appliance loads.
- Plumbing: Galvanized steel or aging cast iron pipes can corrode from the inside and cause low pressure or leaks.
- Moisture: Stains, musty smells and peeling paint near foundations often point to drainage problems that need fixing before any finishing work.
- Structure: Sagging floors and sticking doors can signal settled framing or past water damage.
- Insulation: Many older walls have little or none, which affects both comfort and utility bills.
Walk through the house with a notebook and photograph anything questionable. This list becomes your renovation roadmap.
Lead Paint Deserves Respect
If your home was built before 1978, lead-based paint is a real possibility. The U.S. Environmental Protection Agency explains that the federal government banned lead-based paint in homes in 1978, yet roughly three-quarters of older American homes still contain some of it. The paint is usually harmless when intact. The danger starts when sanding, scraping or demolition turns it into fine dust.
According to the EPA’s Renovation, Repair and Painting Program, anyone paid to disturb painted surfaces in pre-1978 housing must be certified and trained in lead-safe work practices. The rule generally does not cover homeowners working on their own homes, but it does apply to landlords, rental properties and house flippers. If you do the work yourself, follow lead-safe habits: contain the work area, avoid dry sanding and clean up with wet methods.
Hiring a certified professional is the simplest way to protect children, pets and anyone who spends time in the home.
A Smart Order of Work
Sequence matters more than most people expect. Following a sensible order prevents damage to finished surfaces:
- Fix water problems first. Gutters, grading, roof leaks and plumbing issues come before anything cosmetic.
- Handle structural repairs. Level floors and repair framing while walls are still open.
- Update electrical and plumbing. Rough-in work is far cheaper before drywall goes up.
- Improve insulation and air sealing. Open walls are the best time to do it.
- Install windows and exterior doors. This keeps weather out before interior finishes begin.
- Finish with drywall, flooring, tile and paint. These cosmetic layers go last so they stay clean.
Matching Old Features With Smart Fixes
| Older home feature | Common issue | Practical approach |
|---|---|---|
| Plaster walls | Cracks and loose sections | Patch small areas, replace badly failing sections |
| Original windows | Drafts and rattling | Restore and weatherstrip, or replace if rotted |
| Hardwood floors | Scratches and gaps | Refinish rather than replace when boards are sound |
| Small kitchens | Limited storage and outlets | Rework cabinet layout and upgrade circuits |
| Damp basements | Seepage and humidity | Address drainage before finishing the space |
Do Not Forget the Air
Comfort in an older home often depends less on the thermostat than on how many gaps let outside air in. The U.S. Department of Energy describes air sealing as a way to improve efficiency, comfort and durability, and its Energy Saver fact sheet covers ventilation, finding leaks and working with contractors. Sealing gaps around windows, doors, pipes and attic openings is a low-cost upgrade, and it works best alongside proper insulation and ventilation rather than replacing them.
Because tightening a house changes how air moves through it, planning ventilation at the same time keeps moisture from building up.
Common Questions
Should I renovate everything at once?
Not necessarily. Many homeowners phase the work by room, but the underlying systems, such as wiring, plumbing and drainage, are best addressed together so walls only need to open once.
Is it better to repair or replace original features?
Repair when the material is sound. Original trim, doors and flooring are often higher quality than modern equivalents. Replace only when rot, damage or safety concerns make repair impractical.
How much should I set aside for surprises?
A contingency fund of ten to twenty percent of the project budget is a common planning guideline for older properties, since hidden conditions tend to appear once walls are opened.
The Takeaway
A successful older-home renovation comes down to three habits: inspect before you design, respect the hazards that come with age and sequence the work so each stage protects the next. Done well, the result keeps everything that made the house special while making it safer, drier and more comfortable for the years ahead.
